
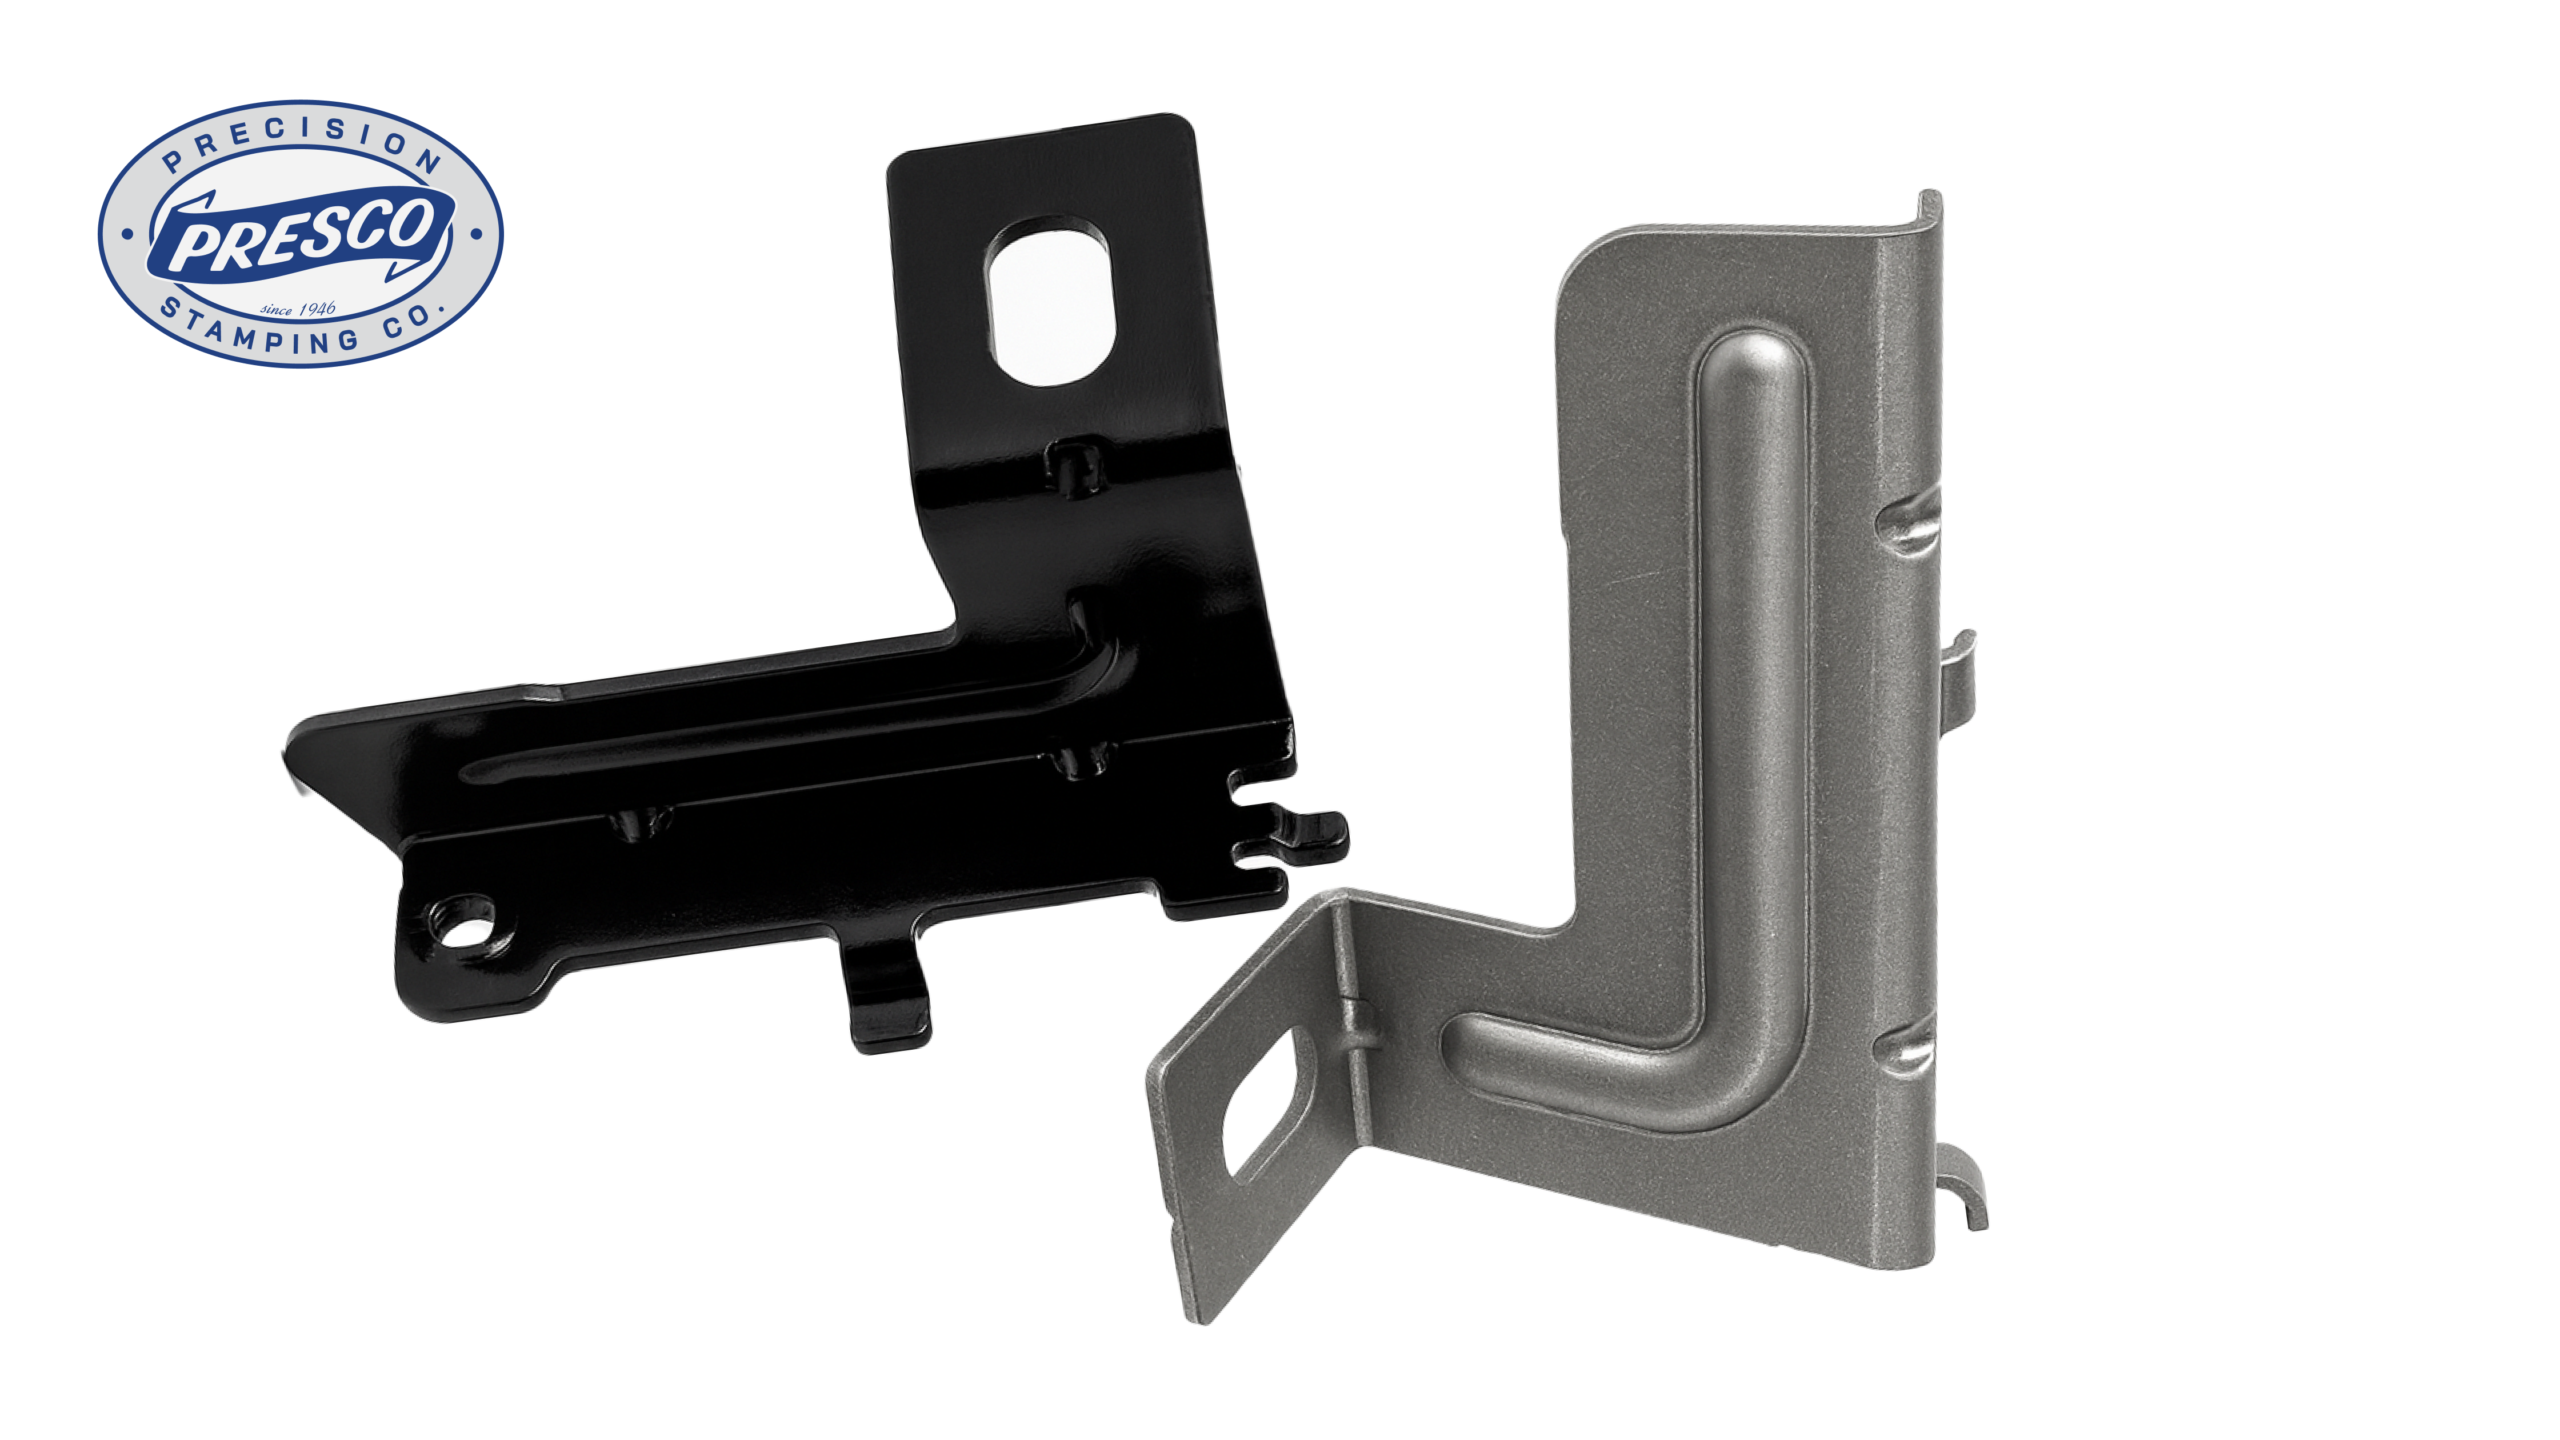
Metal brackets may look simple, but behind every reliable bracket is a carefully engineered stamping process designed to deliver strength, stability, and long-term performance.
Whether your part is holding components in place, supporting loads, or mounting assemblies, the way a metal bracket is manufactured has a direct impact on fit, function, and cost.
This guide breaks down how stamped metal brackets are produced, which materials work best, and the most common design pitfalls to avoid. You’ll also learn why early DFM (Design for Manufacturability) collaboration can dramatically improve part quality and reduce downstream headaches.
How Metal Brackets Are Manufactured
Most metal brackets are made using progressive die stamping or transfer stamping, depending on geometry and volume.
1. Tooling Design & Engineering Review
Before steel ever hits a press, engineers review your bracket model and print for manufacturability. This includes evaluating:
- Bend radii
- Material thickness vs. strength requirements
- Tolerance stackups
- Mounting hole locations
- Forming sequences
During this stage, early DFM input can remove unnecessary features, simplify bends, or adjust radii—reducing tooling complexity and long-term production cost.
2. Tool Build
A progressive or transfer die is designed, machined, and assembled. High-quality tooling ensures:
- Precise forms
- Burr-minimum pierce and trim
- Consistent part repeatability
Building tools under one roof (rather than outsourcing) keeps timelines predictable and prevents miscommunication between engineering and production teams.
3. Stamping & Forming
During production, coils or blanks of metal feed into stamping presses, often ranging from 5 tons to 300 tons, depending on part size and thickness.
A stamped metal bracket may go through multiple stages, including:
- Piercing
- Forming bends
- Embossing or strengthening features
- Trimming
- Coining
Each station shapes the part closer to its final geometry, ensuring consistency at high volumes.
4. Finishing & Secondary Operations
After forming, brackets typically undergo:
- Deburring / vibratory finishing
- Part washing
- Heat treating (if required)
- Plating, coating, or painting
- Additional piercing or tapping
Proper finishing prevents sharp edges, corrosion, and wear, ensuring the bracket performs under real-world conditions.
5. Quality Control
Industrial brackets often require tight tolerances. Advanced inspection tools, like CMM scanning, leak/burst testing, and digital measurement systems, verify the part meets spec before it heads to production quantities.
Best Materials for Metal Bracket Manufacturing
Choosing the right material determines strength, flexibility, weight, corrosion resistance, and cost. Common options include:
1. Carbon Steel
- Strong, affordable, and versatile
- Ideal for automotive, appliance, and industrial brackets
- Available in many grades and tempers
2. Stainless Steel
- Excellent corrosion resistance
- Used in electrical, aerospace, outdoor, or sanitary environments
3. Aluminum
- Lightweight and corrosion-resistant
- Great for handheld tools, appliances, and mobility equipment
- Not suitable for all heavy-load applications
4. High-Strength Low-Alloy (HSLA) Steel
- Higher strength without major weight increase
- Reduces thickness while maintaining durability
5. Copper & Brass (Less Common)
- Used where conductivity or aesthetic finish is needed
The right choice depends on bend requirements, environmental exposure, load expectations, and cost targets.
Common Design Mistakes to Avoid
1. Tight Bend Radii
Too-tight radii cause cracking or require unnecessary forming steps. A good rule of thumb:
Bend radius ≥ material thickness (varies by alloy).
2. Over-Restrictive Tolerances
Over-spec’d tolerances increase part cost and complicate tooling. Hold tight tolerances only where function demands them. This keeps the focus on the right aspects of your part or product.
3. Incorrect Hole-to-Edge Distance
Holes placed too close to an edge can deform during stamping. Maintain adequate edge distance to prevent distortion.
4. Unnecessary Features
Chamfers, embossments, or extra bends increase tooling complexity. Early DFM conversations can often eliminate features that don’t add meaningful value.
5. Designing Without Considering the Forming Sequence
A bracket that looks simple in CAD may require impossible bends in real life. Early feasibility reviews help ensure the part can actually be formed with high repeatability.
Why Early DFM Collaboration Matters
Waiting until tooling is ordered to involve a stamping partner is a common and costly mistake. Early engineering collaboration enables:
- Optimized geometries and repeatable requirements
- Lower tooling costs through simplified station design
- More predictable timelines
- Reduced rework and faster sample approval
With experienced in-house engineering and tooling teams, partners like PRESCO help manufacturers avoid delays and launch parts with confidence.
The Right Manufacturing Partner Makes All the Difference
Metal brackets may seem simple, but designing them for manufacturability is essential to ensuring durability, performance, and cost-efficiency. By choosing the right material, understanding how brackets are stamped, and collaborating early with a skilled stamping partner, manufacturers can avoid common pitfalls and achieve better outcomes from day one.
That’s exactly where a partner like PRESCO elevates your process. With in-house engineering, tooling, stamping, finishing, and deep DFM expertise under one roof, PRESCO helps manufacturers simplify development, eliminate guesswork, and launch bracket programs with confidence. Many of our partners have trusted us for 40+ years because the parts are right and the process is smooth.
If you’re looking for a smarter, more reliable way to produce metal brackets, PRESCO is built to help.